Fashion
How to Hem Pants on Your Own Like a Pro

As much as it doesn’t seem like it, every little detail contributes to your overall appearance. This includes the length of your pants, as well. When people see you, especially those with a trained eye for such things, they’ll notice how much you pay attention to how you look. Ad they’ll respect you for it.
Aside from this, when the pants drag on the floor they increase the danger of tripping and cover your shoes, hiding them from view.Because of all of this, people that care about how they look tend to search for ways to fix the problem with their pants’ length. Luckily, you can do that by yourself without having to go to the tailor and spend a bunch of money. Even if you see some pants in the store that are too long you can buy them and hem them yourself.
So, in this guide, we’ll show you how to hem pants like a professional using preferably a sewing machine or a needle if you don’t have one.
Supplies You Need

© Thread Riding Hood
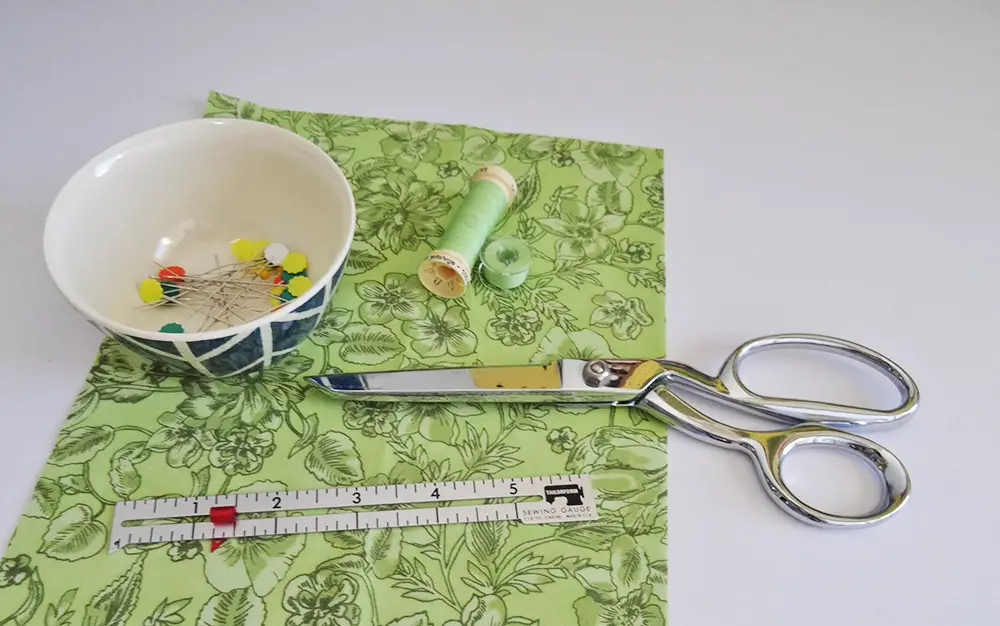
To perform this task, you’ll need to gather useful things, first. So, comb through your house to find a needle, a thread, a chalk, which is best to be white, an iron or a board, and a ruler. In case you own a machine for sewing that can stitch in zigzag, it’ll be welcome, as well.
Then, take the pants you want to hem and you can begin.
The Process
Measure

© Rivet and Hide
Before doing anything else, you’re required to remove the old hem by using a seam-ripper, small scissors or a sharp small knife. After you’ve done that, you should measure the actual length, which you want your pants to have.
For that purpose, people often put on the shoes they intend to wear the pants with like high-heels or boots and stand with them before the mirror. It’s advised the mirror to be a full-length one. Next, the edges of the pants should be folded right so that they don’t go above the shoes but rather graze them slightly. For securing the cuffs, you can use pins.
Finally, you should take off the pants and flip them inside out without removing the pins.
Mark the Pant Legs

© Manmade DIY
The chalk will do the job here. All you should do is take a ruler or a hem gauge and mark the pants by running the chalk along the edge of the ruler. Once you make a line on one side, repeat the procedure on the other side of the pant leg, as well.
After marking the lines, simply get rid of the excess by cutting it off and the pants are ready for sewing.
Sew the Edges

© SummerSacres
When you reach this phase, it means that you have to prepare the pants’ edges for sewing. In order to do that, you should roll the edge to the inside of the pants following the previously marked line. Use an iron to press the edges together and begin the sewing.
It’s preferable if you could make zigzag stitches until you sew along the whole edge. If you’re using a needle, make sure you have a knot at the end and just insert it with a single thread and pull through.
Also, it’s vital to maintain a consistent space between the stitches.
Once you’re done flatten the pants with an iron. And try them on to see how well they match your shoes now.
For more useful advice and tips make sure you stay on FlixExpo.
-
Cloth7 years ago
10 Free Plus Size Clothing Catalogs That You Can Request Online
-
Search Engine Optimization6 years ago
List of 100 High Authority Free Guest Blogging Sites that Bring You Success on The Web
-
Search Engine Optimization6 years ago
The Secret of Link Building Strategies That Works For Every Major Search Engines
-
Blogging2 years ago
How to Start A Blog in 2022 : Step by Step Guide for Beginners
-
Cloth7 years ago
10 Free Junior Clothing Catalogs That You Can Get at Home
-
Email Marketing6 years ago
Methods To Building Your Email List from Blogging
-
Cloth7 years ago
8 Clothing Catalogs for Women That You Can Get for Free
-
Cloth6 years ago
Free Clothing Catalogs That’ll Help You Follow the Latest Fashion Trends


